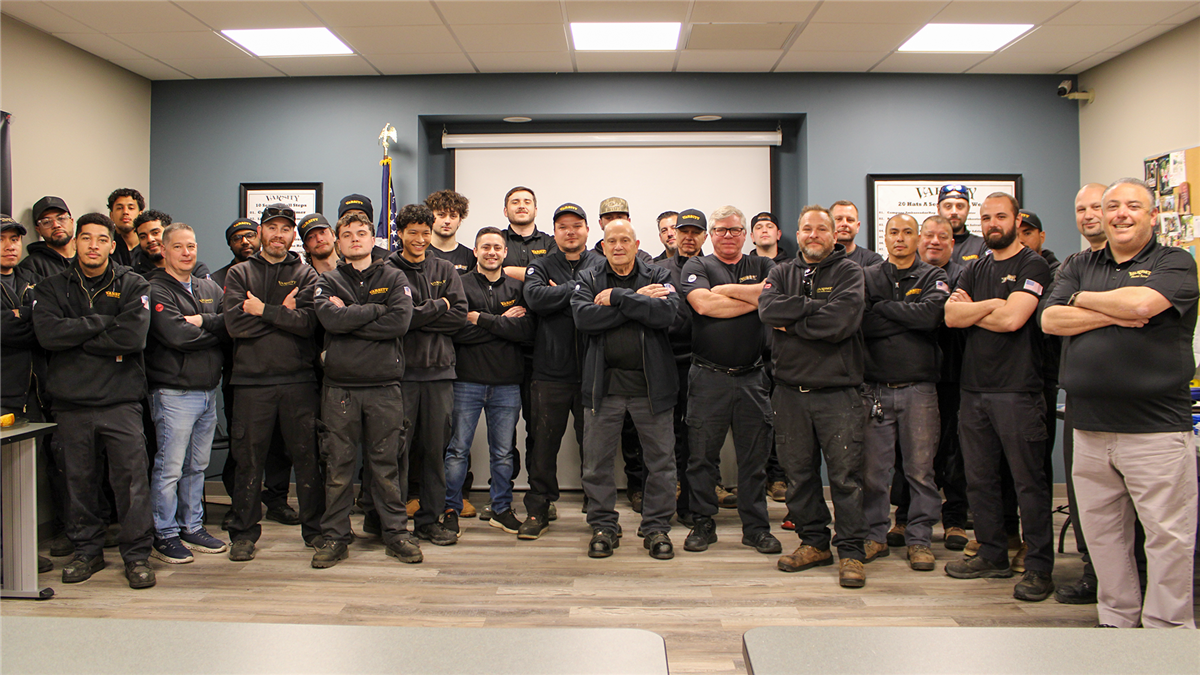
See the Varsity HVAC team at work!
If you've been told your air conditioning system needs to be replaced, you might be picturing a clean, straightforward job — out with the old, in with the new. In reality, a full AC replacement is one of the more involved home improvement projects a Long Island homeowner can undertake. The equipment is heavy, access can be extremely limited, and the work requires precise technical skill from start to finish. This post walks you through exactly what goes into a professional AC system replacement, so you know what to expect when the Varsity Home Service team shows up at your door.
What Does an AC System Replacement Actually Include?
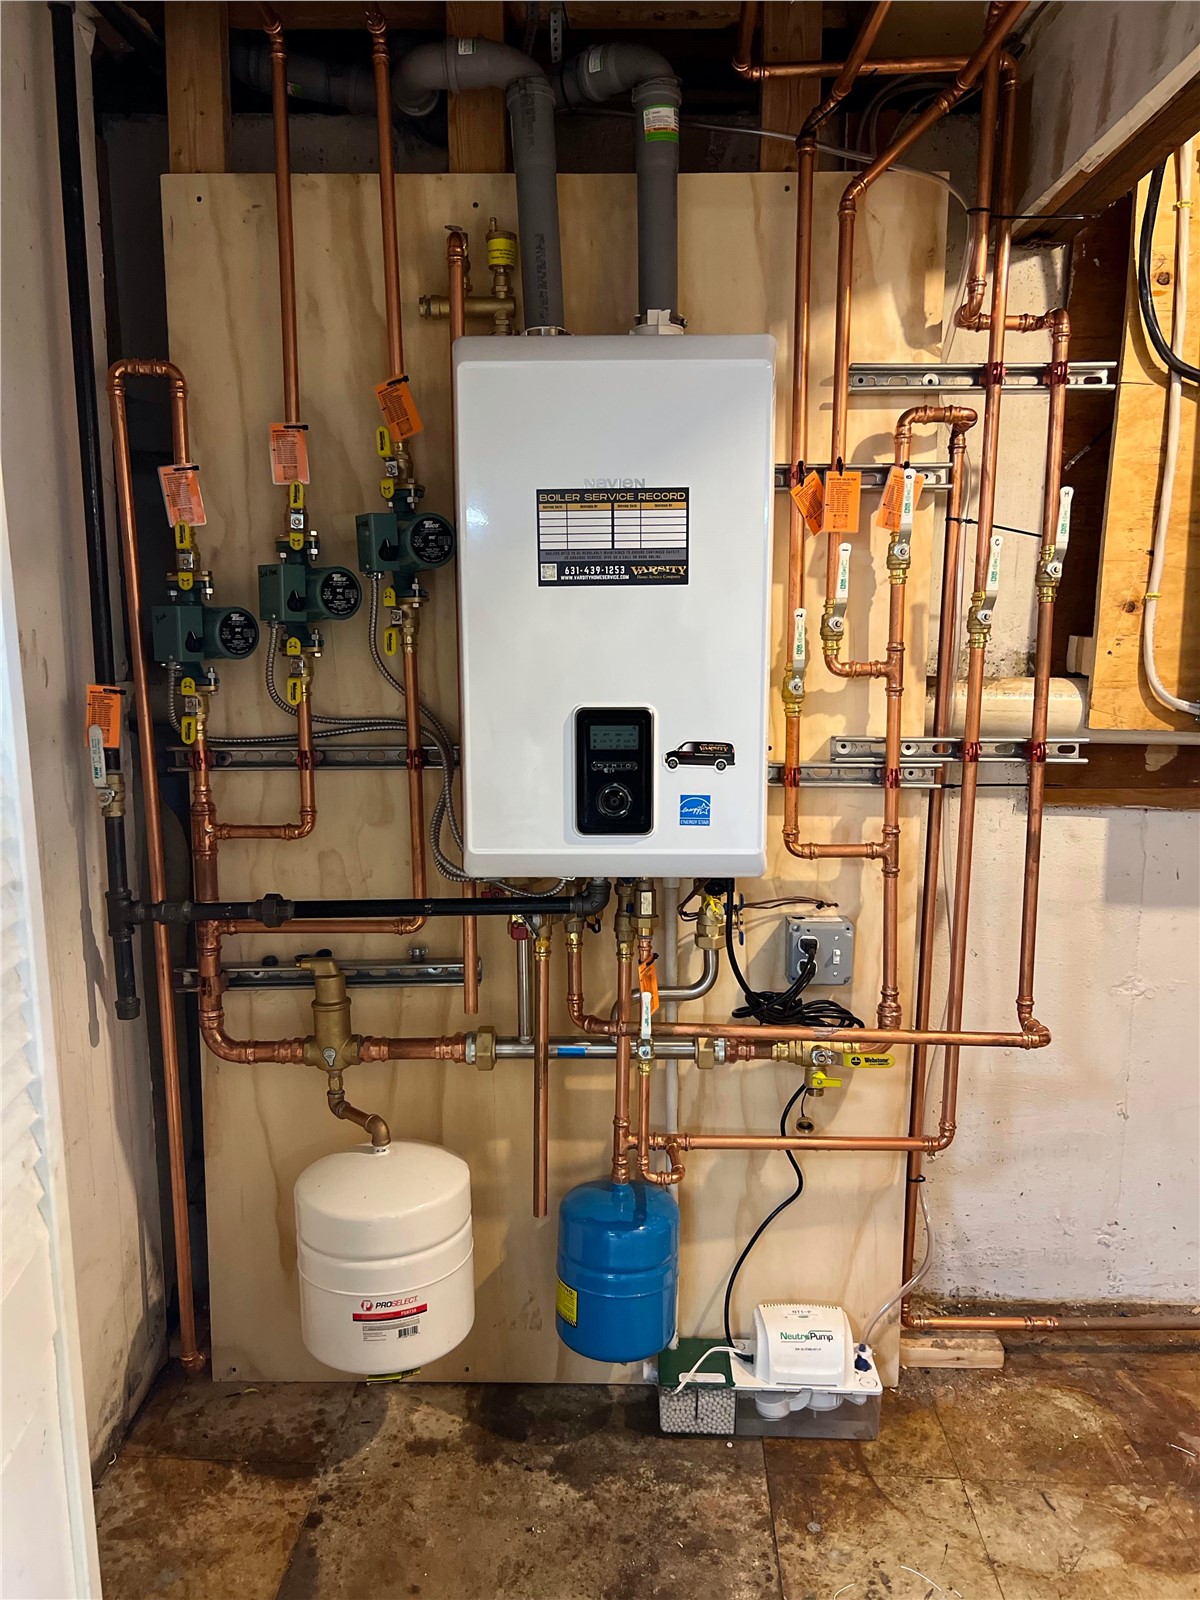
A central air conditioning system has two main components: the outdoor condenser unit (the box outside your house) and the indoor air handler or evaporator coil (the equipment inside, typically in a mechanical closet, basement, or attic). In most whole-home replacements, both components are replaced together. This ensures they're properly matched for efficiency and capacity — mismatched systems are a common cause of poor performance and premature equipment failure.
Depending on the home and the system, a replacement can also involve:
- Refrigerant line assessment and possible replacement
- Electrical work at the disconnect, breaker panel, and equipment connections
- Thermostat upgrade or replacement
- Ductwork inspection and repairs
- Drain line inspection and clearing
- Permits, where required by local code
When the Equipment Is in the Attic: A Whole Different Challenge
On Long Island, it's common for homes — especially ranch-style houses and split-levels — to have the indoor air handler installed in the attic. This setup works well once it's in place, but replacing that equipment is a serious physical undertaking that most homeowners don't anticipate.
In many homes, the only way to access the attic is through a ceiling hatch with a pull-down staircase or, in tighter situations, a cut-out opening in the ceiling with a steep, narrow ladder — nothing more than a hole overhead and a few feet of clearance. Our technicians have to navigate this access point while moving heavy, awkward equipment up and down.
Here's what that process actually looks like:
Getting the Old Unit Out
The existing air handler typically weighs between 100 and 200+ pounds depending on size and configuration. Before it can be moved, refrigerant must be properly recovered by an EPA-certified technician — this is not optional and can't be skipped. Then electrical connections are disconnected, refrigerant lines are capped, and the drain line is cleared. Only then does the physical removal begin: maneuvering a large, bulky unit through an unfinished attic with limited headroom, then angling it through a ceiling opening that may only be 22 inches wide. It's a two-person job at minimum, and it requires experience to do without damaging the ceiling, the walls, or the equipment itself.
Getting the New Unit In
The new air handler goes through the same opening in reverse — except now the technicians are lifting a heavy piece of equipment up through a ceiling hole and into a low-clearance space. This requires coordination, physical strength, and a clear plan to avoid damaging refrigerant lines, ductwork connections, or the new unit itself. Once it's positioned on its platform or hanging bracket, every connection has to be made precisely: refrigerant lines, electrical, condensate drain, and supply/return duct connections.
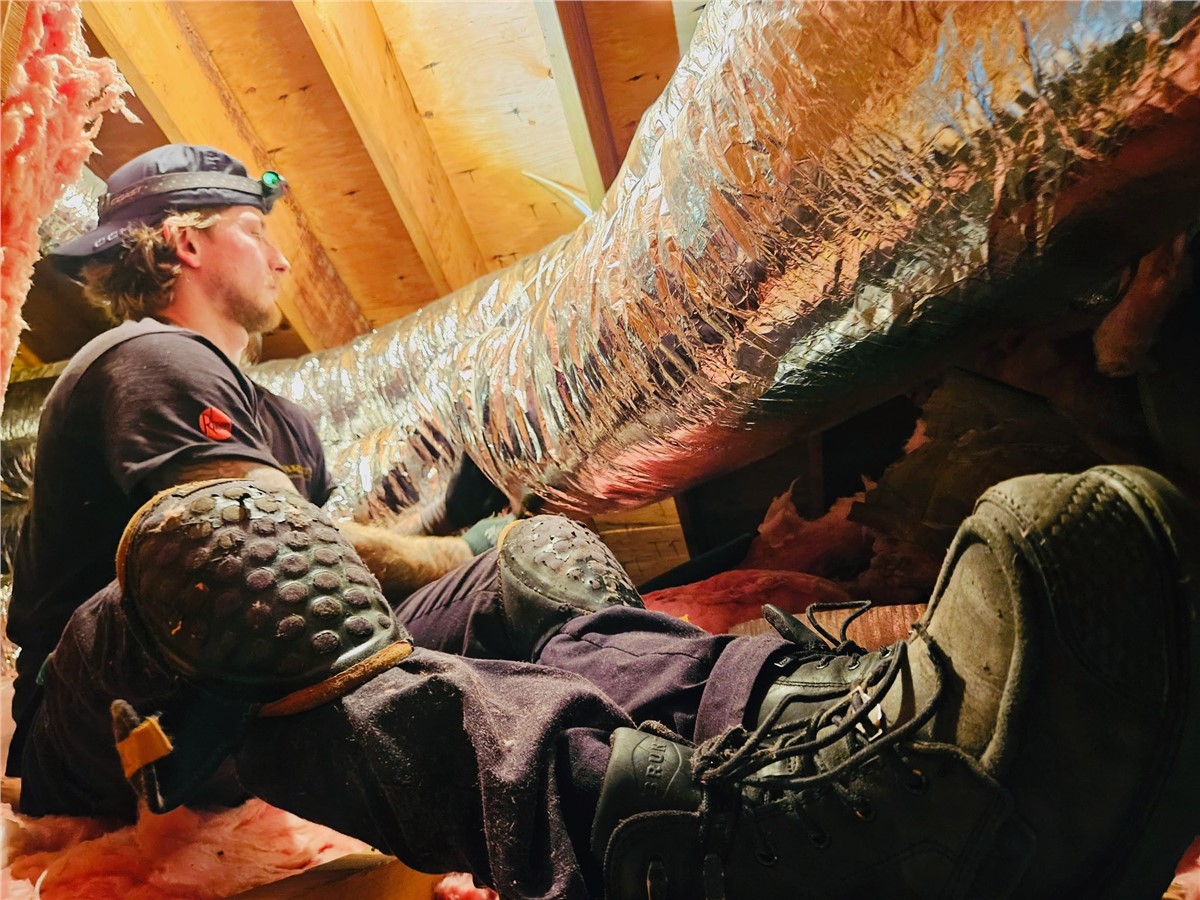
The Conditions Up There
Attic work isn't just physically demanding — it's hot, cramped, and often dusty. In summer months, attic temperatures on Long Island can easily exceed 130°F. Our technicians work in these conditions with the skill, professionalism, and focus required to do the job right regardless of what the environment throws at them.
Step-by-Step: How a Varsity AC Replacement Unfolds
Every replacement follows a structured process to protect your home and ensure the new system performs correctly from day one.
1. Pre-Installation Assessment
Before the job starts, your technician reviews the scope of work: existing equipment, refrigerant type, electrical capacity, duct condition, and access logistics. If there are surprises — like deteriorated ductwork or an undersized breaker — you'll know before work begins, not after.
2. Refrigerant Recovery
The refrigerant in the old system is recovered by an EPA 608-certified technician using specialized equipment. It cannot legally be vented into the atmosphere. This step happens before anything else is disconnected.
3. Electrical Disconnection and Safety Lockout
Power is shut off at the breaker panel and at the outdoor disconnect. Lock-out/tag-out procedures ensure no one accidentally re-energizes the system while work is in progress.
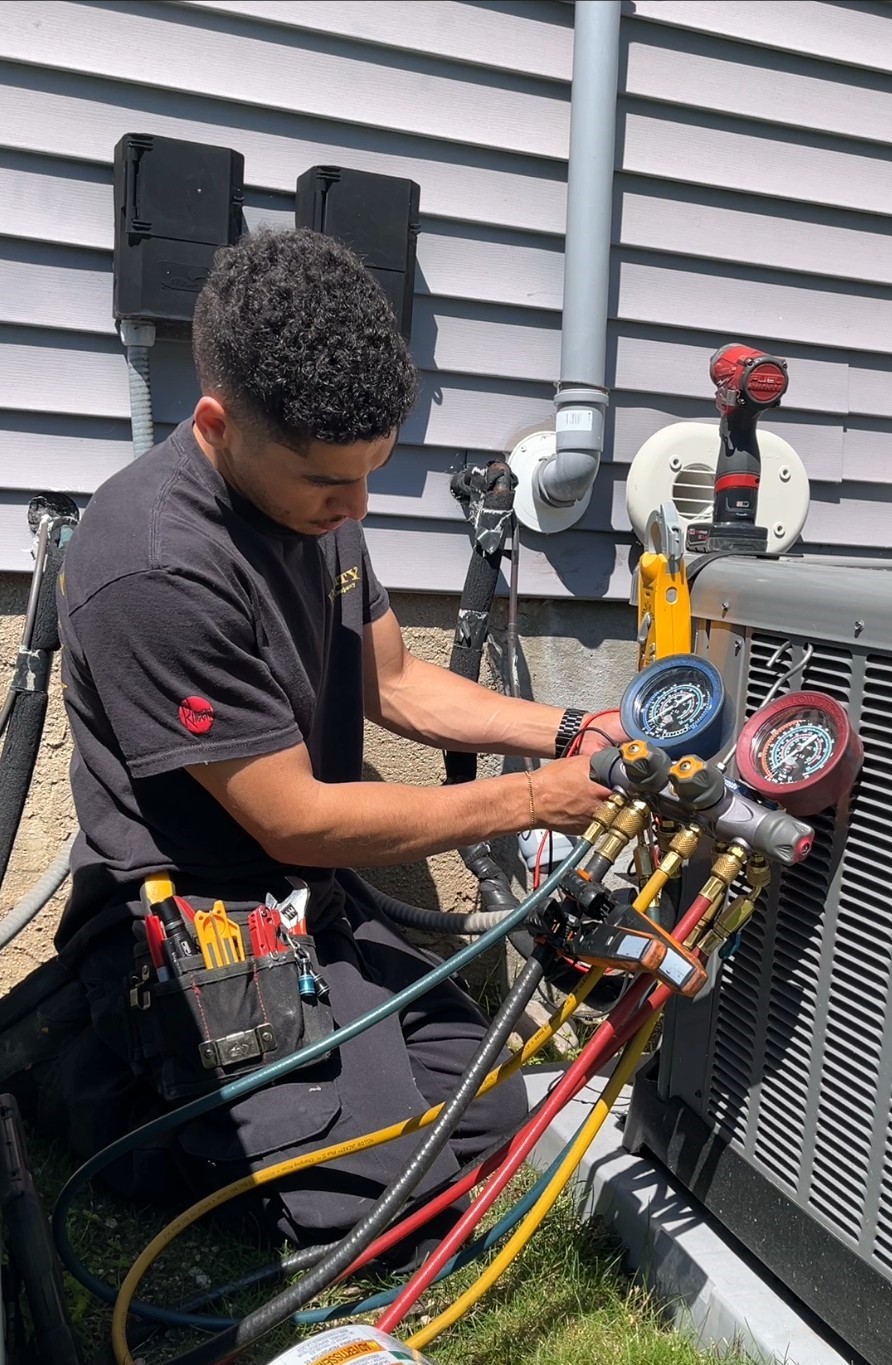
4. Outdoor Condenser Removal and Installation
The old condenser is disconnected, removed, and the new unit is set on a properly leveled pad or elevated mounting bracket. Refrigerant lines, electrical, and the disconnect are all reconnected to the new equipment.
5. Indoor Air Handler Removal
As described above, this is the most physically demanding phase for attic installations. The old unit is carefully maneuvered out of the attic through the access opening without damaging your ceiling, walls, or the equipment.
6. New Air Handler Installation
The new unit is staged, lifted, maneuvered through the access opening, positioned correctly in the attic, and connected to ductwork, refrigerant lines, the condensate drain, and electrical supply.
7. Refrigerant Line Assessment and Charging
If the existing refrigerant lines are in good condition, they may be reused. If not — or if the new system uses a different refrigerant type — new lines are run. The system is pressure-tested for leaks, then charged to manufacturer specifications.
8. Electrical Reconnection and Thermostat Setup
All electrical connections are verified, the thermostat is configured for the new system, and controls are tested before startup.
9. System Startup and Performance Verification
The system is powered on and put through its paces: we verify airflow at the registers, check supply and return temperature differential, confirm refrigerant pressures are within spec, and make sure the condensate drain is flowing correctly.
10. Homeowner Walkthrough
Before the crew leaves, your technician walks you through the new system: how to operate it, what the warranty covers, any maintenance you should be doing, and what to watch for in the first few weeks.
How Long Does an AC Replacement Take?
Most complete AC system replacements take one full day — typically 6 to 8 hours from start to finish. Attic installations can run toward the longer end of that range due to the access and handling requirements. If the job involves ductwork repairs, electrical upgrades, or new refrigerant line sets, it may extend into a second day.
Your Varsity technician will give you a realistic timeline estimate before work begins so you can plan accordingly — especially during summer when you can't afford a prolonged gap in cooling.
Signs Your AC System Is Due for Replacement (Not Just Repair)
Not every AC problem calls for a full replacement, but certain situations make replacement the smarter investment:
- The system is 12–15+ years old. Most central AC systems have a lifespan of 15 to 20 years. After the 12-year mark, repair costs often make less financial sense than investing in new, efficient equipment.
- It uses R-22 refrigerant. R-22 (Freon) has been phased out and is extremely expensive when available at all. If your system is R-22 and needs refrigerant, replacement is almost always the better choice.
- Repair costs exceed 50% of replacement cost. The general rule: if the repair bill is more than half what a new system would cost, replace it.
- The system can't keep the house comfortable. If your AC runs constantly but your home still feels muggy or uneven, the system may be undersized, inefficient, or simply worn out.
- Energy bills are climbing. Degraded components and reduced efficiency show up directly in your utility bills. A new high-efficiency system can significantly reduce monthly costs.
What to Look for in an AC Replacement Company on Long Island
AC replacement is not the kind of job you want to price-shop to the lowest bidder. Here's what matters:
- EPA 608 certification for all technicians handling refrigerant — this is legally required
- Proper load calculation (Manual J) to correctly size the new system for your home — not just matching the old unit's tonnage
- Manufacturer-authorized installation to ensure your equipment warranty is valid
- Permitting where required by your municipality
- Documented startup and commissioning — not just "we turned it on and it works"
- Clear warranty on both equipment and labor
Varsity Home Service has been serving Long Island homeowners since 1962 — over 60 years and three generations of family ownership. Our HVAC technicians are fully certified, trained, and experienced with the full range of Long Island homes, including the attic installations and tight-access challenges that are common throughout Nassau and Suffolk County.
Ready to Replace Your AC System? Start with a Free Estimate.
If your air conditioning system is aging, struggling to keep up, or in need of a costly repair, now is the time to get an honest assessment from a team that's been doing this work on Long Island for over six decades. Varsity Home Service will evaluate your system, explain your options, and give you a clear, upfront estimate — no pressure, no surprises.
Subscribe to Varsity Home Services's Blog